

-
Direct To Garment (DTG) 0
-
Getting Started 19
-
Texjet® Garment Printers 58
-
Textile Applications 30
-
RIP Software 27
-
PreTreater Pro 15
-
Troubleshooting 20
-
-
Direct To Film (DTF) 1
Pretreater Pro: Tank filling procedure


PreTreater Pro offers a two-tank option for pretreatment liquids. This gives you the possibility to fill each tank with a different kind of solution, or if you have a larger production, to have two tanks of the same pretreatment solution. In each case, when you are always working with the same pretreatment liquid(s) and you have chosen the bulk option during your purchase, you can efficiently refill the existing 5lt tanks that accompany the machine.
Tank filling procedure
Step 1
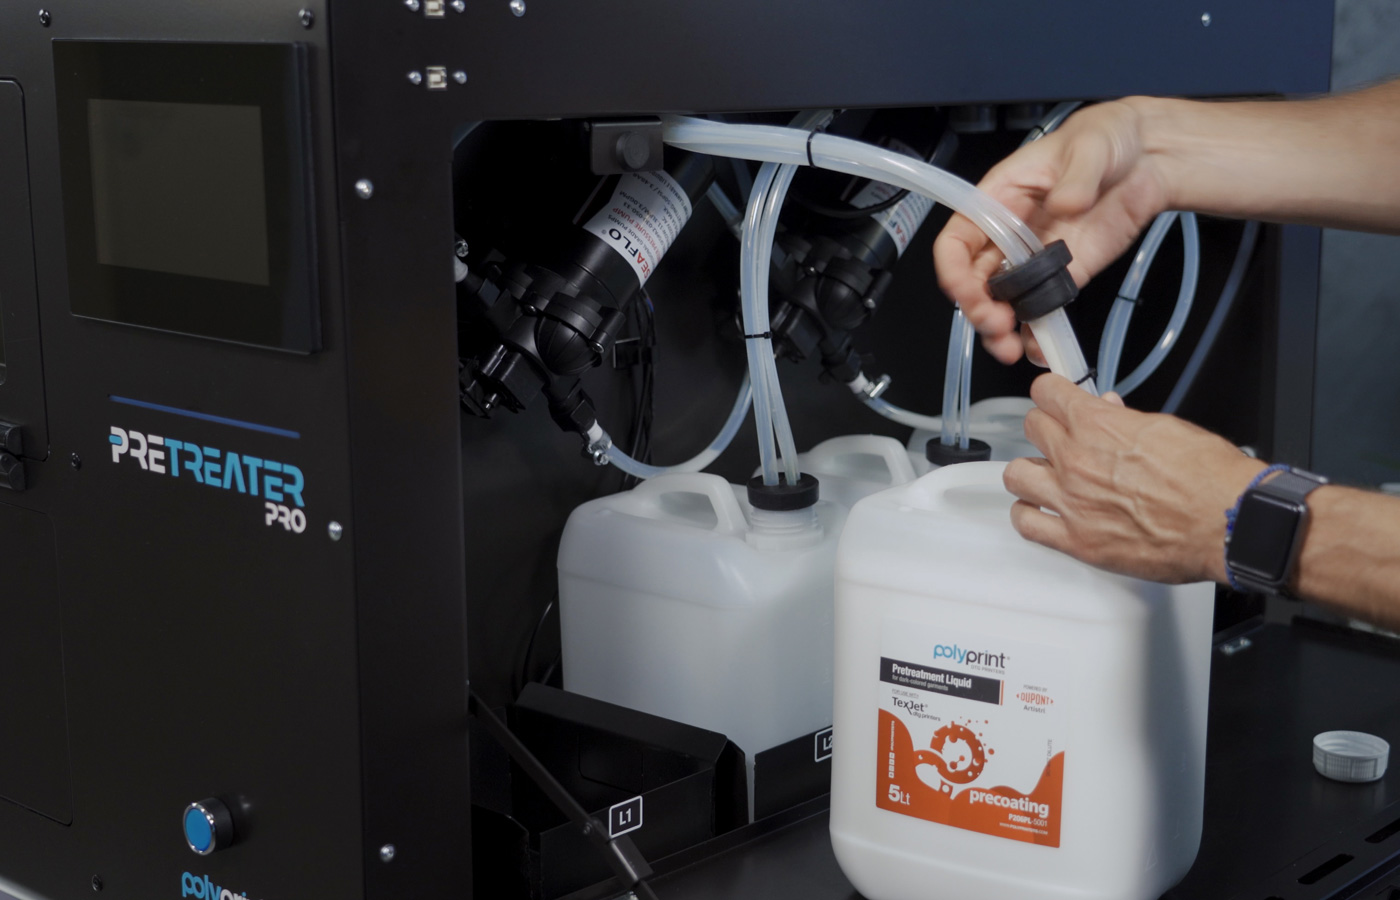
Take the tank out of the slot and open its cap. Then, take the tubes out.
Tip: You can use the Tank Access Cover as extra workspace.
Step 2
Shake the pretreatment bottles well, before filling the tanks.
Step 3
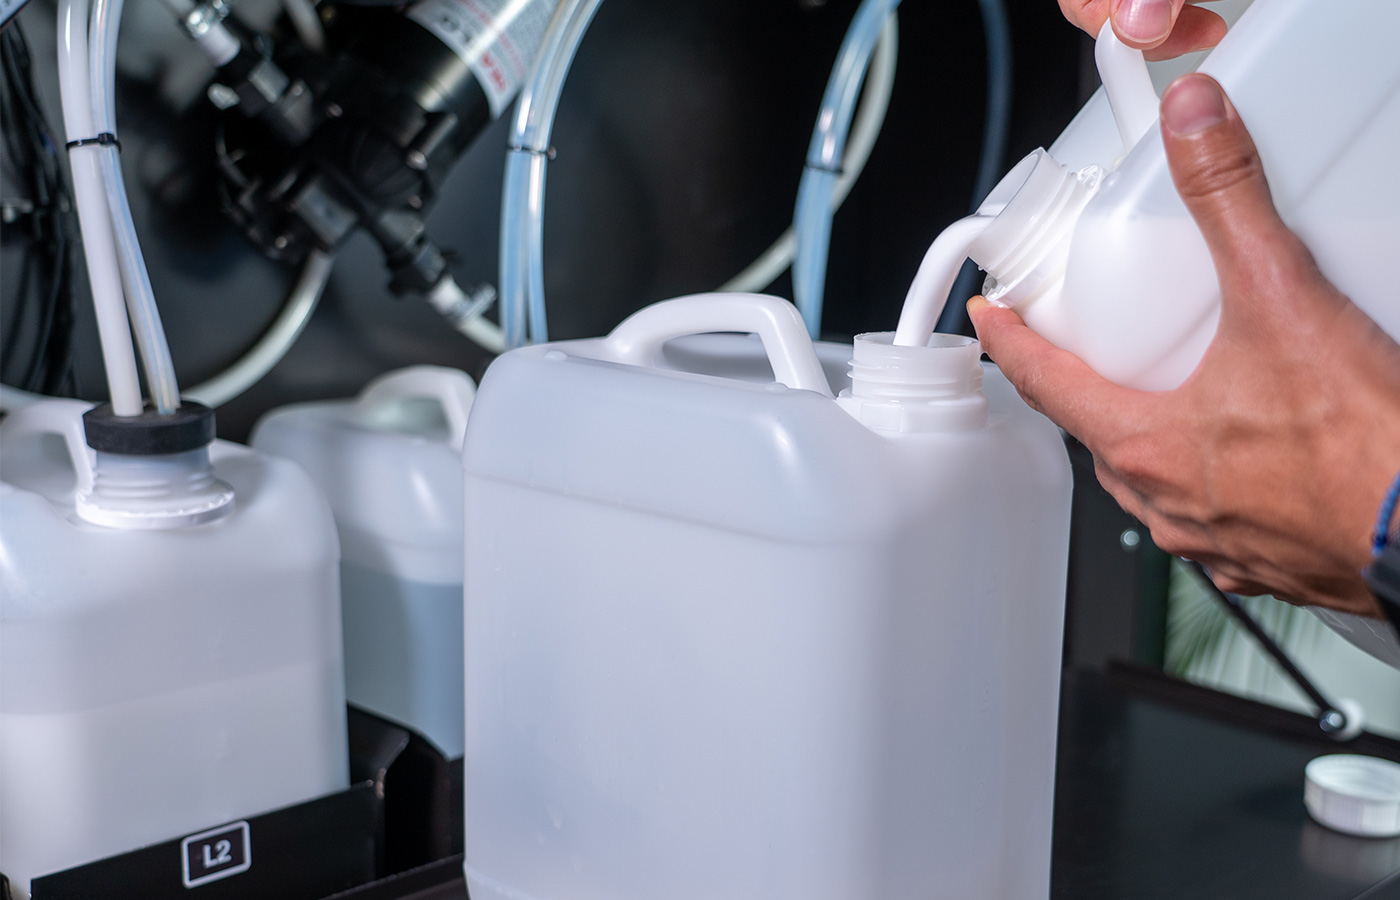
Fill the tank with the pretreatment liquid. Ensure that it’s with the same pretreatment liquid type.
Step 4
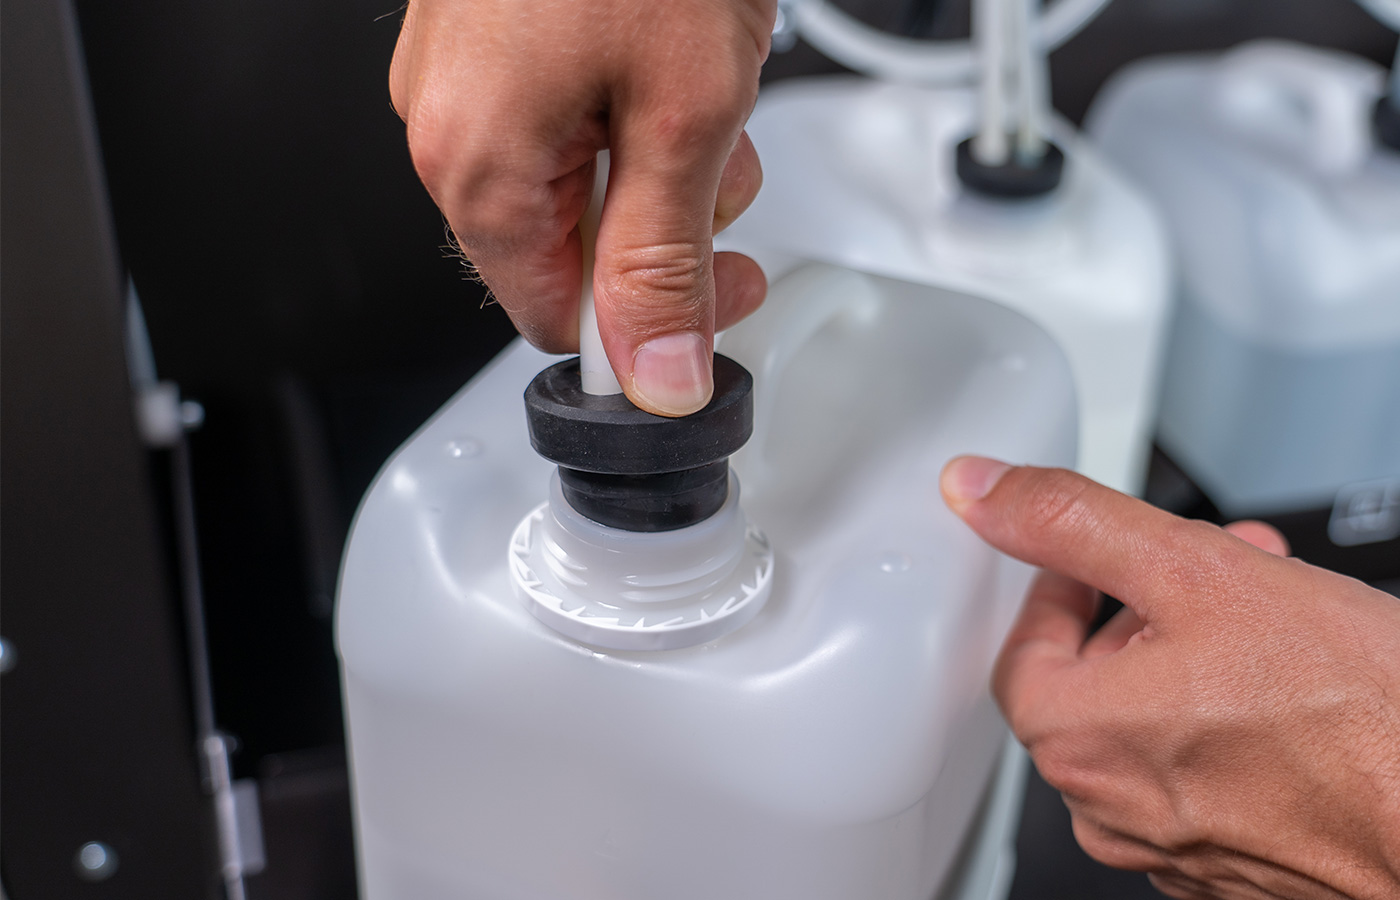
Put the tubes inside the tank and close the cap. Ensure they are in place and properly sealed.
Step 5
Put the tank back into the slot and close the Tank Access Cover.
Caution: Before closing the Tank Access Cover, ensure that all tubes are inside the tanks and that the caps are in place and properly sealed.
Step 6
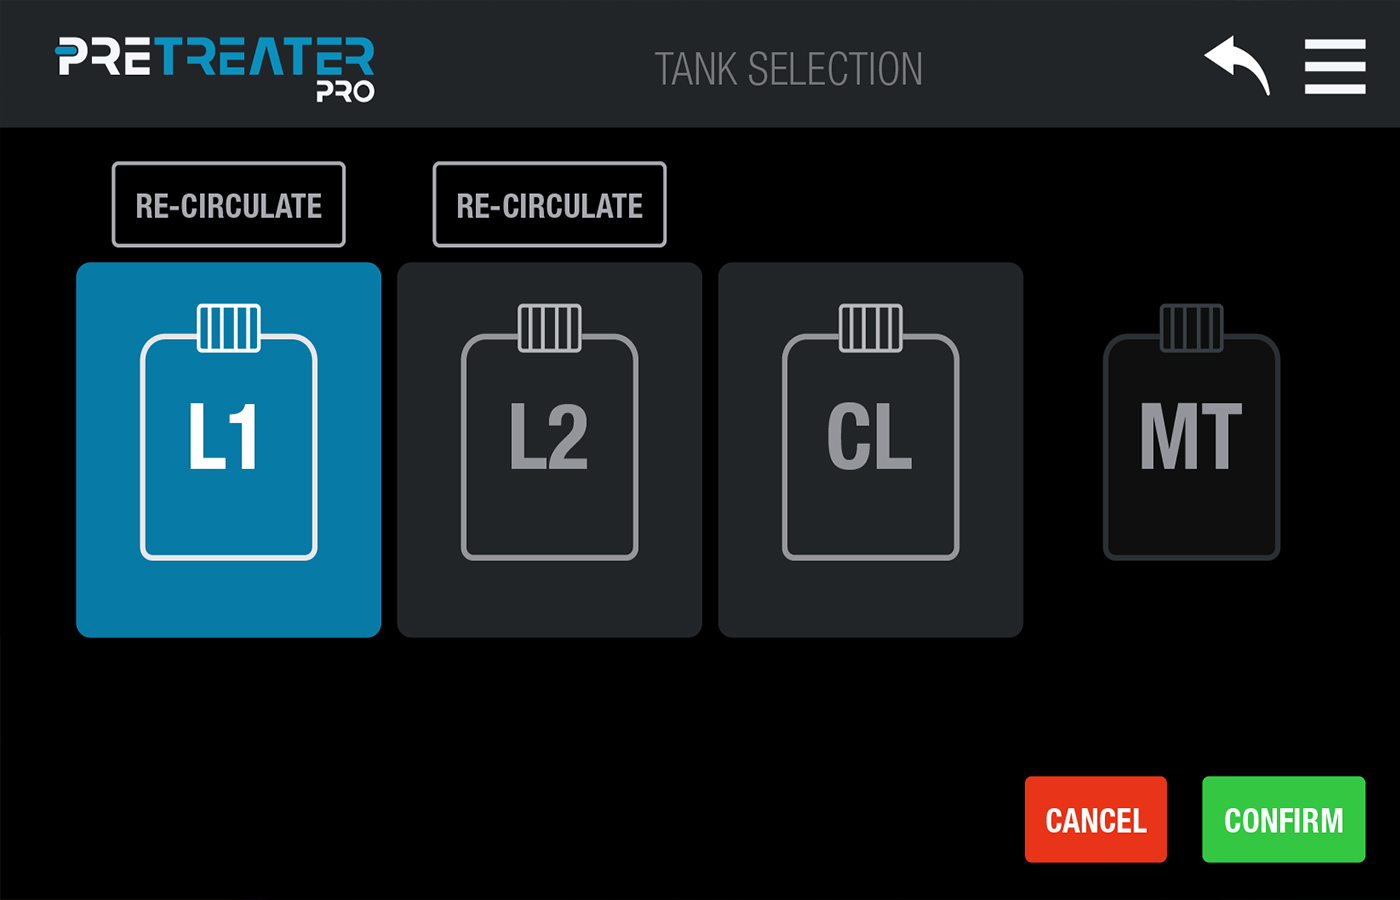
On the Home screen tap on the Menu button and select Tanks. Tap the Re-Circulate button for three seconds to initiate the liquid recirculation process that will remove any air bubbles from the tank tubes.
Warning: The tank filling process should be only followed in the case that you want to use the same pretreatment or cleaner liquid. If you want to use a different liquid, then you must follow first the Tube Discharge process, in order to clean the tube system from the previous liquid. Also, you must use a new tank for the new liquid.


