

-
Direct To Garment (DTG) 0
-
Getting Started 19
-
Texjet® Garment Printers 58
-
Textile Applications 30
-
RIP Software 27
-
PreTreater Pro 15
-
Troubleshooting 20
-
-
Direct To Film (DTF) 1
1404 Service Call: What is warning you about and how to resolve it

The reason you are getting this error is because of an air leak. This air leak may be resulting from a cartridge air pressure loss, or even from an issue at the ink system or the air pump. In order to remove this error, you should first locate the source of the problem and then, perform the necessary steps to clear the message. For this reason, you should check the following in the order that they are described:
STEP 1
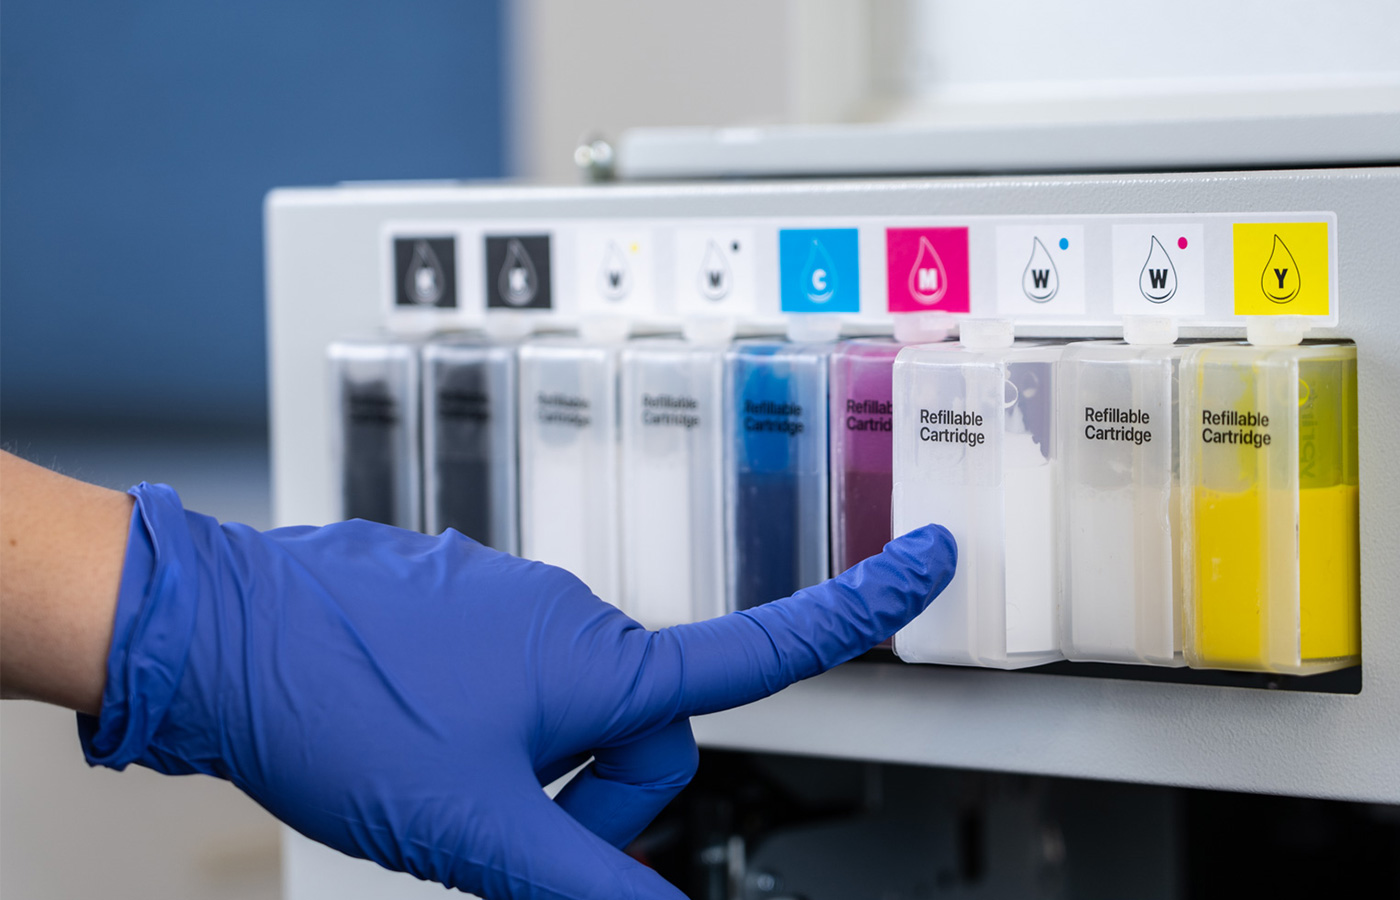 During the printer wake-up procedure, when you shake the ink cartridges, make sure that when you put them back in their slots you have pressed them and the mechanism has gripped them properly. If even one ink cartridge is loose, the system can lose pressure and result in an 1404 error.
TexJet echo2: Wake Up procedure
STEP 2
If your ink cartridges are placed correctly and you keep getting the error message then, depending on the ink cartridge type that you are using, check the following:
Refillable cartridges
After you get the 1404 error, close the printer. Open the ink cover and remove all ink cartridges. Check them one-by-one if they have pressure, by removing the plastic tap on their front. If you hear a decompressing sound, then your cartridges are functional and they are not the source of the problem.
Note: In case of ink leaking in the first cartridge chamber, replace the cartridge. This is not what has caused the air leak though.
TexJet echo2: Refillable ink cartridge filling procedure
TexJet echo2: Six month maintenance procedure
Sealed cartridges
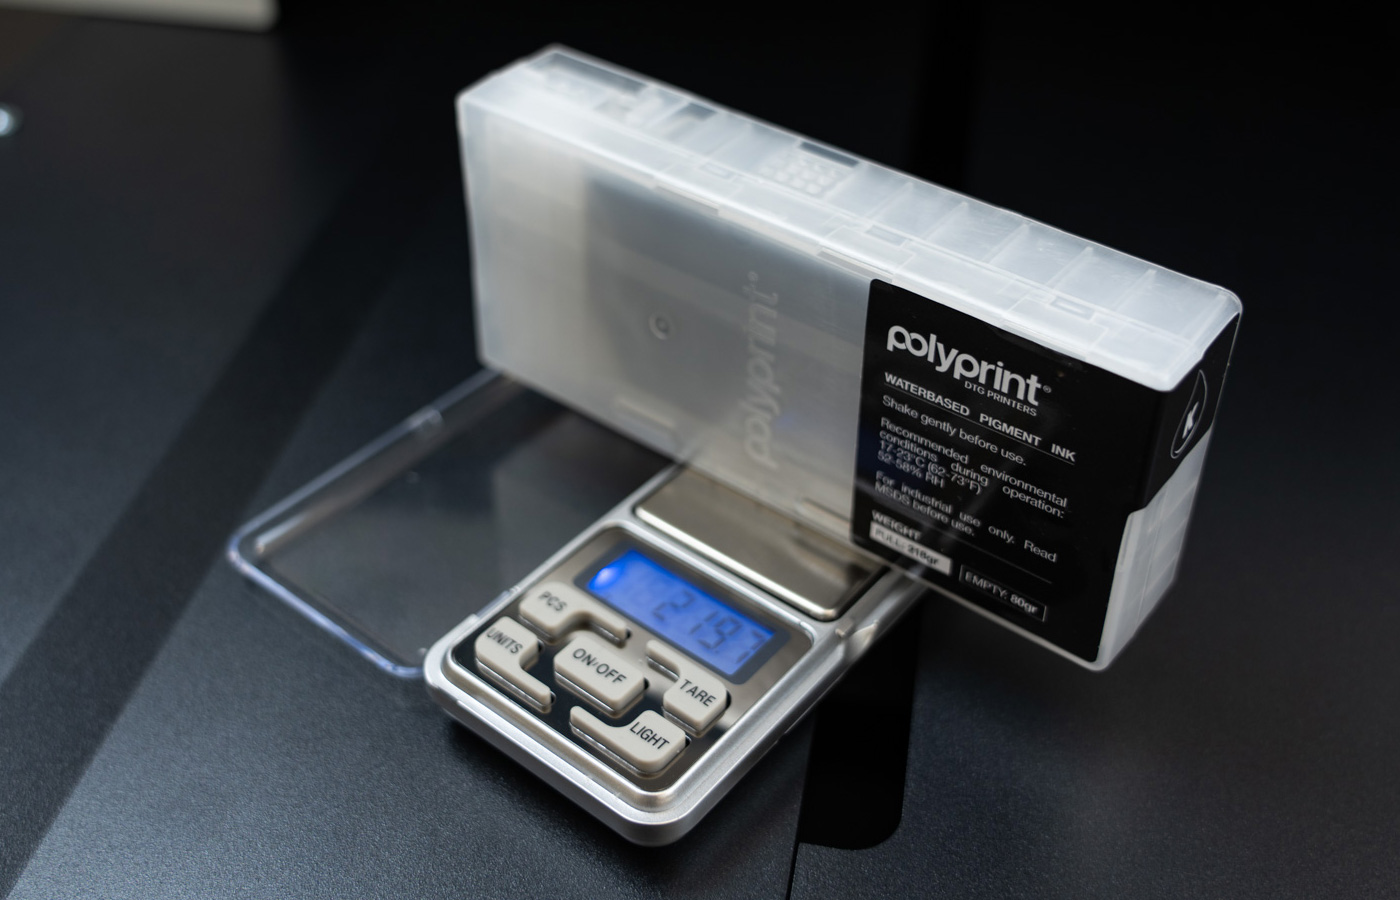 After you get the 1404 error, close the printer. Check if one or more of your ink cartridges are empty or close to empty (85gr). In order to check the remaining ink, use the scale provided with TexJet echo2. Replace the cartridge(s) that are empty. Restart the printer. If the error keeps popping-up then proceed to the next step.
STEP 3
If the ink system is brand new, check that the air pump tube is placed at the inks system’s socket. If the issue insists then, the new ink system might be faulty and needs replacement.
Note: In case you have a used ink system and you haven’t had any issues until now, then the problem can’t be deriving from there.
STEP 4
During printer bootup, squeeze the air pump tube that is connected to the ink system. It is located on the bottom left of the ink system. If the error stops, the air pump is working correctly. If the error pops-up the air pump is probably at fault and needs to be replaced.
If the issue insists, please reach out to a qualified technician or your local dealer for help.
Warning: Please be careful when you are replacing a part. If the installation is not performed correctly, you are putting your machine at risk, as you may cause further damage and invalidate your printer warranty.


