

-
Direct To Garment (DTG) 0
-
Getting Started 19
-
Texjet® Garment Printers 58
-
Textile Applications 30
-
RIP Software 27
-
PreTreater Pro 15
-
Troubleshooting 20
-
-
Direct To Film (DTF) 1
Pretreater Pro: Tank replacement


PreTreater Pro offers a two-tank option for pretreatment liquids. This gives you the possibility to fill each tank with a different kind of solution, or if you have a larger production, to have two tanks of the same pretreatment solution. In each case, when you are low on liquid, you can simply replace the tank with a new one that contains the same liquid.
Tank replacement process
Step 1
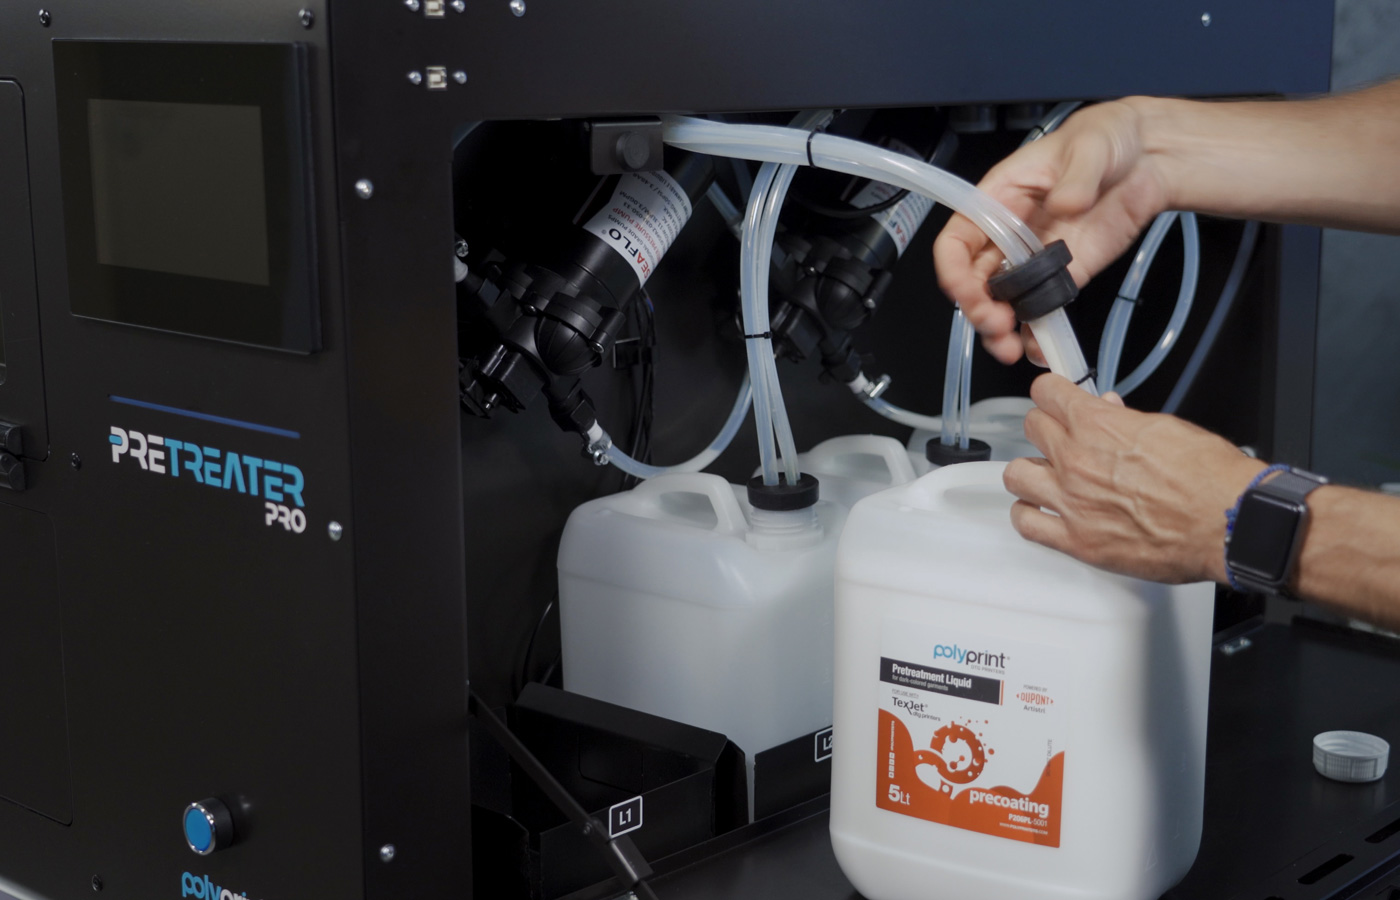
Take the tank out of the slot and open its cap. Then, take the tubes out.
Tip: You can use the Tank Access Cover as extra workspace.
Step 2
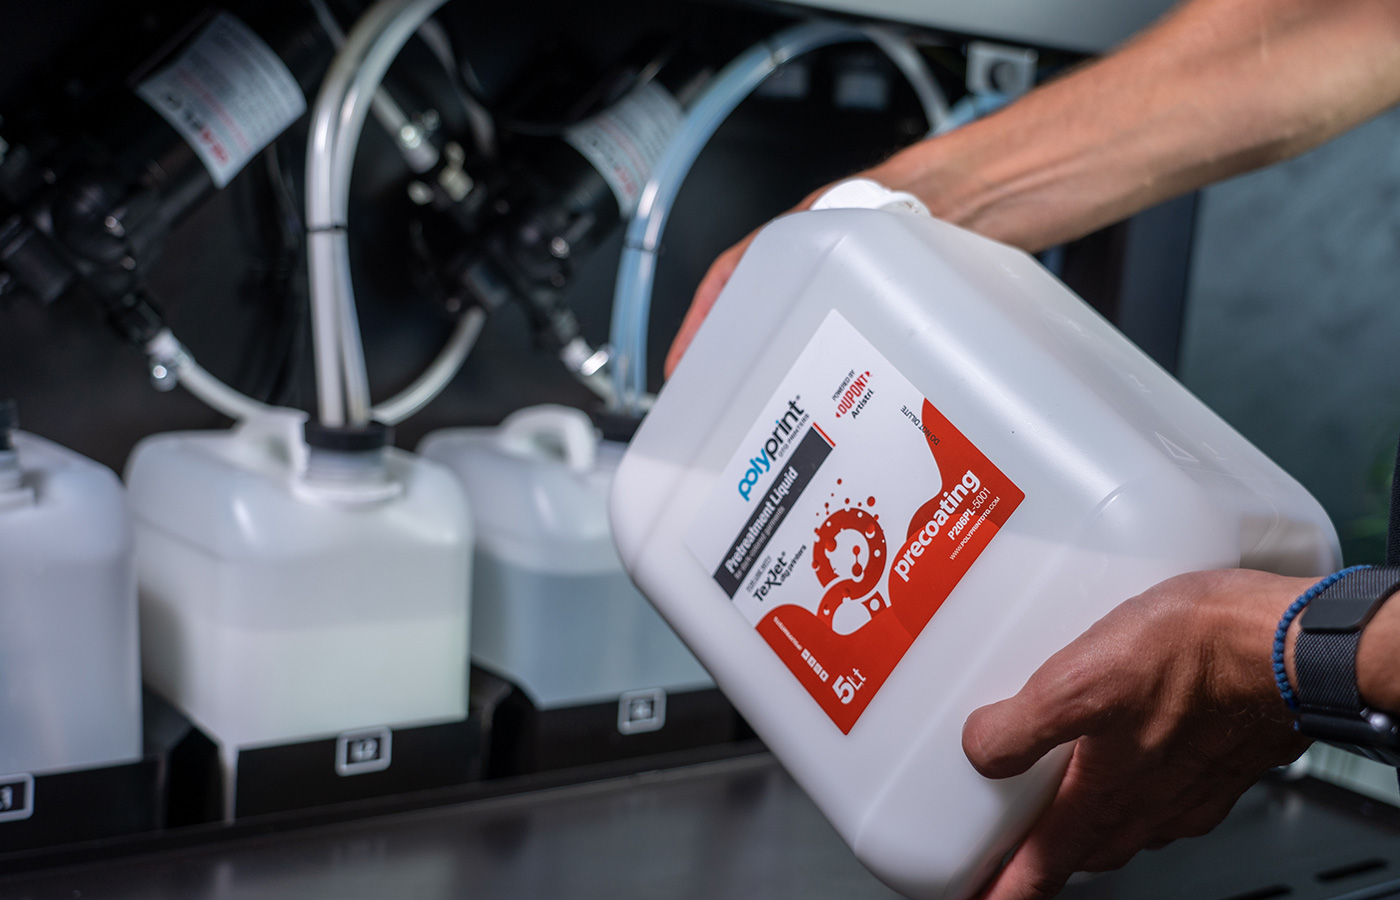
Shake the pretreatment bottles well, before replacing the tanks.
Step 3
Put the tubes inside the tank and close the cap. Ensure they are in place and properly sealed.
Step 4
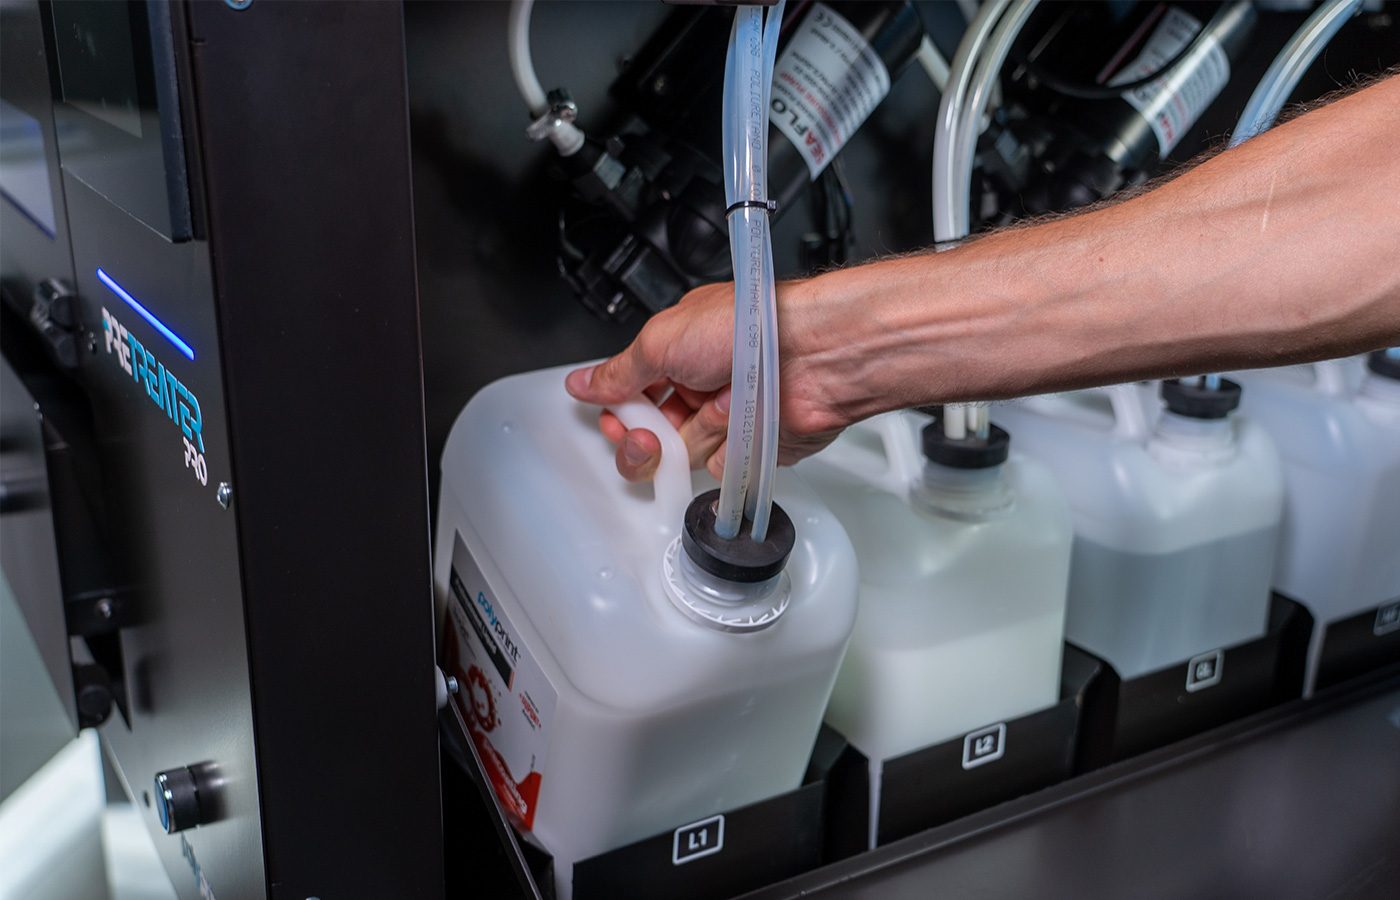
Put the new tank inside the slot and close the Tank Access Cover.
Caution: Before closing the Tank Access Cover, ensure that all tubes are inside the tanks and that the caps are in place and properly sealed.
Step 5
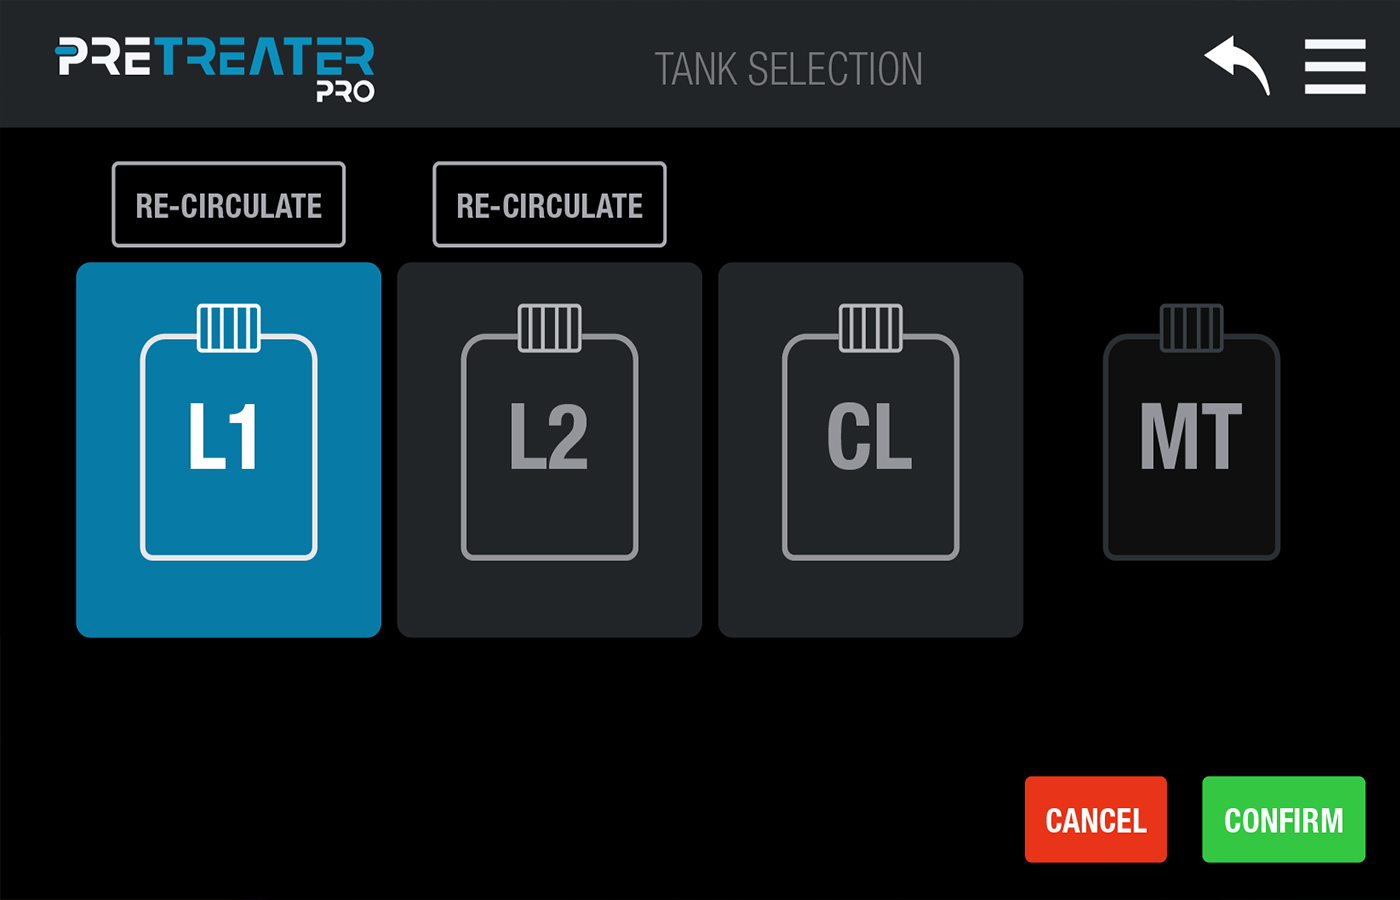
On the Home screen, tap on the Menu button and select Tanks. Tap the Re-Circulate button for three seconds, to initiate the liquid recirculation process that will remove any air bubbles from the tank tubes.
Warning: The tank replacement process should only be followed in the case that you want to use the same pretreatment or cleaner liquid. If you want to replace a tank with one that contains a different liquid, then you must follow first the Tube Discharge process, in order to clean the tube system from the previous liquid.


