

-
Direct To Garment (DTG) 0
-
Getting Started 19
-
Texjet® Garment Printers 58
-
Textile Applications 30
-
RIP Software 27
-
PreTreater Pro 15
-
Troubleshooting 20
-
-
Direct To Film (DTF) 1
TexJet echo2: Maintenance cartridge reset

The maintenance cartridge or waste tank is where all the ink from cleanings is gathered. In order for the printer to run properly, the waste tank should be emptied and resetted after a high frequency of cleanings, usually when a large production is taking place, and of course before and after initiating an Ink Charge.
To check the waste tank chip level, tap on the drop icon on the Printhead Control panel.
Step 1
Press Start Position Button to send platen inside. Wait for the Ready To Print message is displayed at the Platen Control panel.
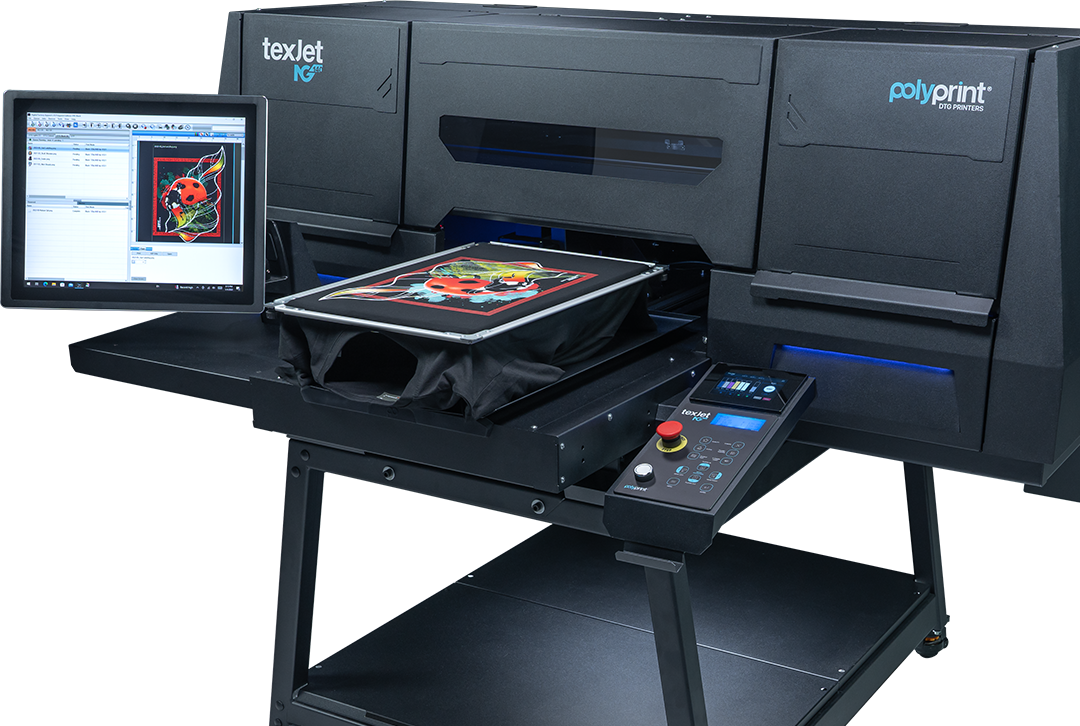
TexJet echo2: Platen control panel explanation
Step 2
Remove the maintenance cartridge, empty and reset it, using the chip resetter provided in the TexJet® series Printer package.
Step 3
Open and close the Ink Cartridge Cover.
Step 4
Reinsert the maintenance cartridge back to its position.
Step 5
Open and Close the Cartridge Cover.
Step 6
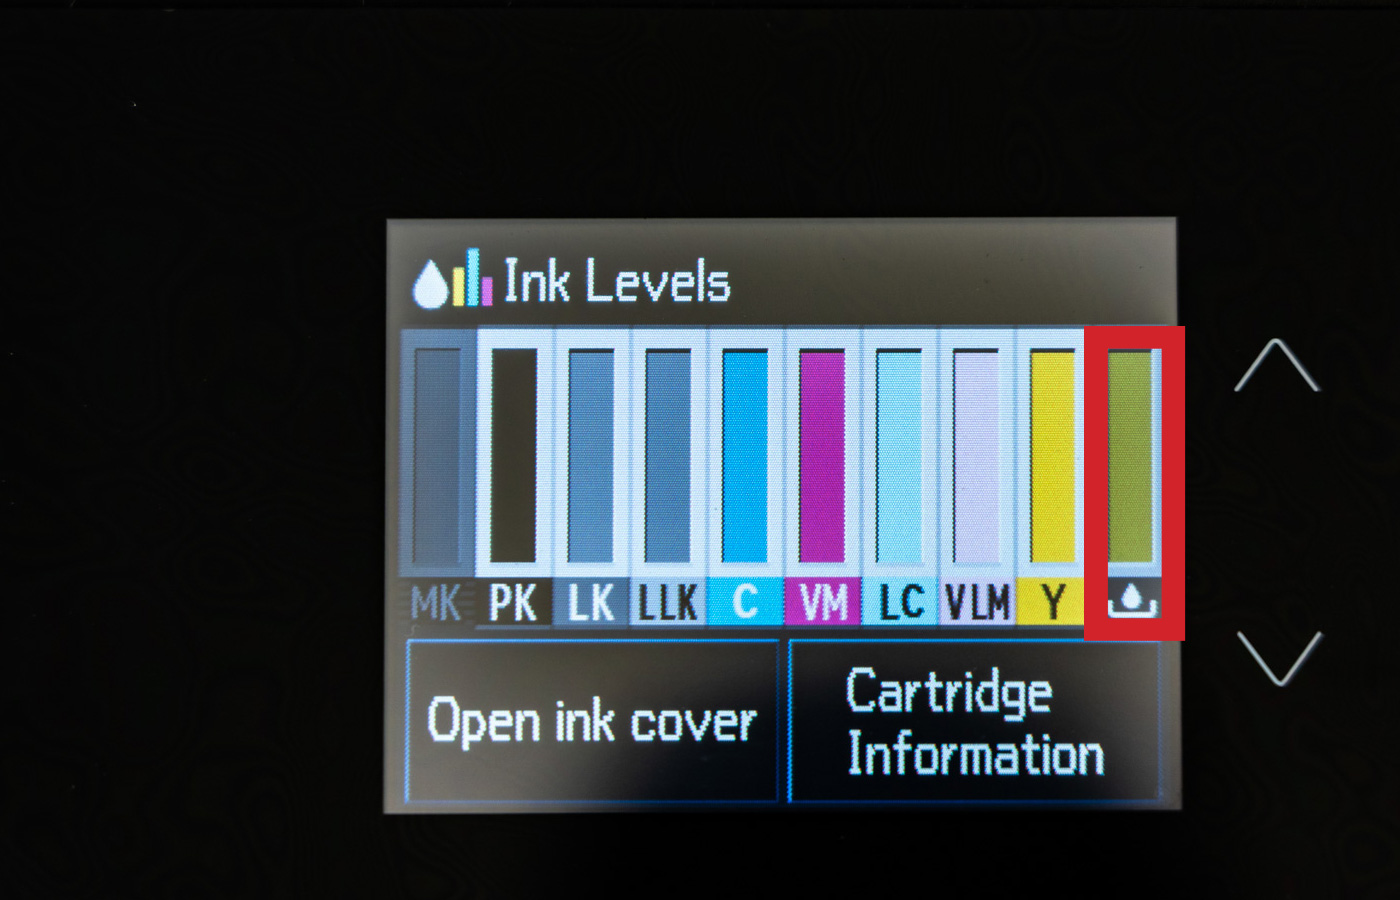
Check from the Printhead Control panel if the tank chip level is full. If not, repeat step 1.
TexJet echo2: Printhead control panel
Caution: Waste Tank Chip Level should always be more than 50%. If it gets below 20%, a message that the “Maintenance cartridge is at the end of its service life” will be displayed and the Tank cannot be resetted. If this situation occurs, you have to replace the tank.
Tip: There is an extra Waste Tank inside the compartment box of each TexJet echo2. It's strongly recommended to have an extra waste tank in your workspace, at all times, in case the chip level of the in-use waste tank is not reset in time.


